Adding Images To Your Web Page | ||
Fun time! Images liven up your Web page like nothing else... and WebExpress is the best editor there is for positioning images on your page. Before beginning, you'll need to save the two images we're going to use in this section. They are shown at right. To save them to your hard drive:
|
 AIMAGE1.GIF AIMAGE2.GIF | |
|
||
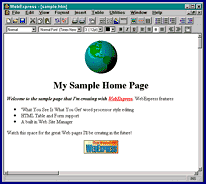
 | Step 1: We'll begin by placing the image of the globe (aimage1.gif) at the very top of your Web page.
| |
| ||
Note: You can also enter the URL for a "remote" image rather than specifying a file name for a local image. More information on this and other advanced image options available from the Picture Dialog Window, like special border and positioning functions, are discussed in detail in the Advanced Image Functions. | ||
It's important to remember that in WebExpress your image will be treated as part of a paragraph, whether on a line by itself or inserted between text. You can even place an image in the middle of a sentence, if you wish. When you change the paragraph's format or alignment, the image is repositioned accordingly. |
 |
|
For example, if you move your cursor up to the top of your page where the globe image is and click the center, right, or left alignment buttons, you'll see your image change position in the same way that text within a paragraph would. | ||
 |
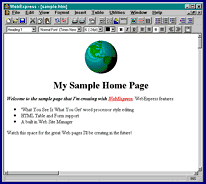
Assignment: Place the other image, the WebExpress logo (aimage2.gif), on the bottom of your sample page. Center it, then turn it into an image hyperlink to the MicroVision Home Page. To do this, use the instructions for creating a text hyperlink but instead of highlighting any text, highlight the image after you've placed it at the bottom of your page. When you're finished, your page will appear similar to the page reproduced at left. 'View' it with your browser and make sure the image hyperlink works! | |
of the tutorial, 'Tables: Positioning Text and Images'. Be there! | ||