Using Interactive Forms | ||||
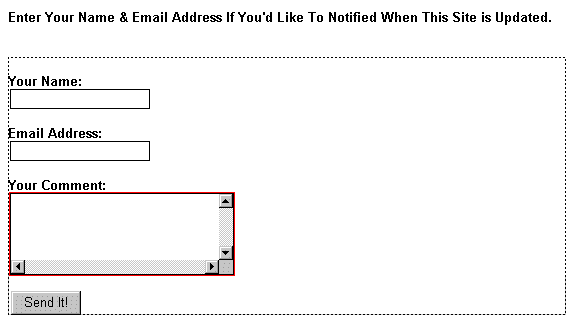
HTML Forms allow you to interact with visitors to your site. You can get information from them, process it, and send information back based on what the visitor enters. Forms can be used for guest books, Web page-based email, order forms, information requests - and much more. The data sent from most Forms is processed on a server by a CGI Script. Click here to learn some basics about scripts. If you don't plan to program your own Scripts, you can also acquire pre-written Scripts for nearly every Form processing task there is. Click here for a partial list of sites that offer pre-written Scripts. For this tutorial, let's create a real life example that doesn't use a Script so you can see how to set up a Form and get an idea of where to go from there: Creating Your First Form We want to create a Form to allow visitors to leave their email address so they can receive a notification when our Web site is updated. The information they enter will be emailed to us from the Form. We'll also provide a place in the same Form where visitors can enter comments about our site. These 'places' where users can enter data are called Form Elements. There are several Form Elements available in HTML. Examples of each are shown below: When you use a Form Element on a Web page, you have to give each Element a 'Name'. Names are necessary so that CGI Scripts can identify each Form Element on your page. You can also assign Values to Elements. For example, if you enter "This is a test" as the Value of a Text Box, the words "This is a test" will appear there when a visitor views your Form. For our Form we'll use two Text Boxes, one Scrolling Text Box, and one Push Button. The step-by-step instructions for creating the Form follow: | ||||
Step 1: Create a new Web page with a white background.
| ||||
|
||||
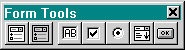
Step 2: Click the Insert Form Tool on the Forms Toolbar. The outline of the Form will appear on your page as shown below: | ||||